How to Photograph a Room for an AI Redesign
If you're about to try an AI room redesign for the first time, this guide is for you. The single biggest thing you control is the photo you upload — not the settings, not the style you pick, but the picture. A clear shot of your room takes about ten seconds, and it makes the difference between a redesign that fits your actual space and one that looks a little off. Here is how to get it right on the first try, using nothing but the phone in your pocket.
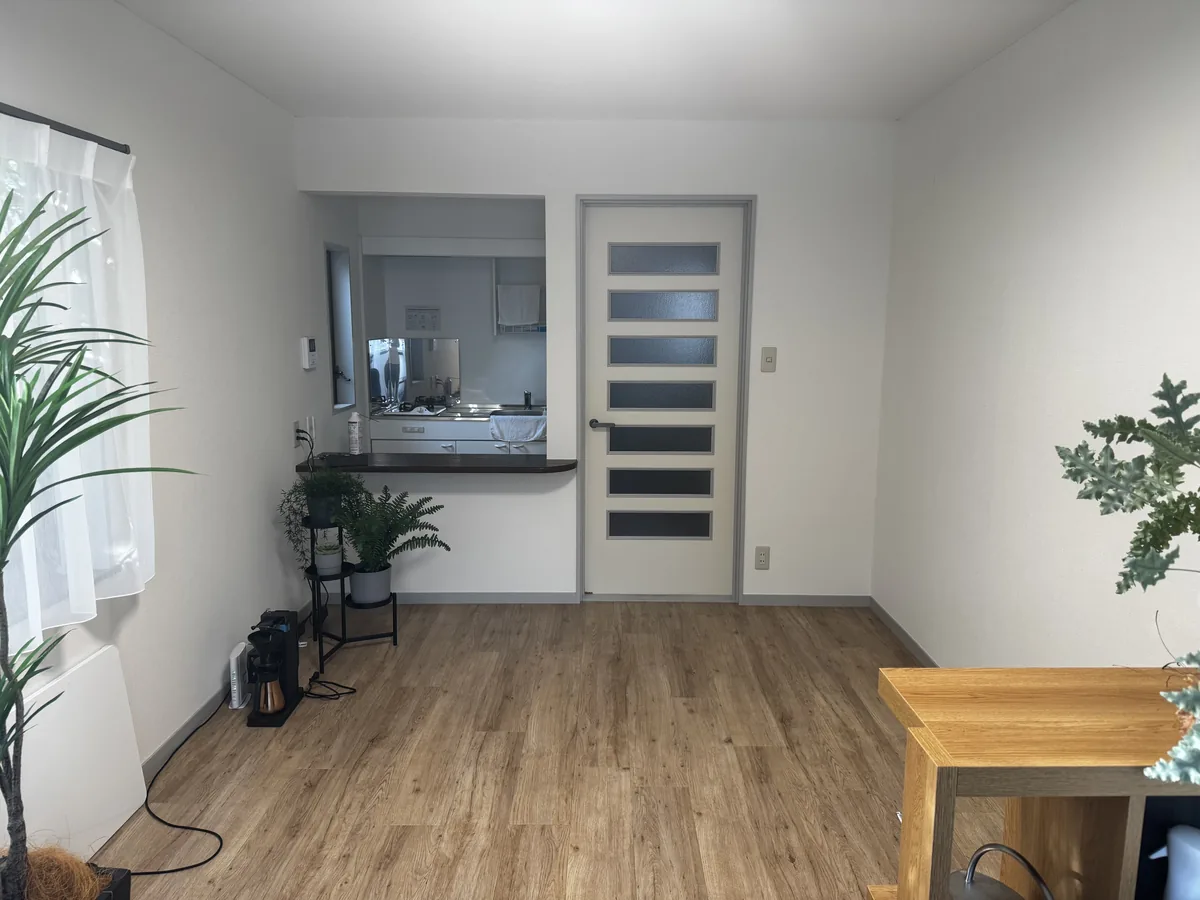
Why the photo matters so much
An AI redesign tool doesn't just paint a pretty picture. First it has to understand your room — where the walls are, how deep the space runs, where the window and floor sit. It reads all of that from your photo, then places new furniture on top of that structure. When the structure is clear, the furniture lands at a believable size and in a sensible spot. When it's hidden or cropped, the tool has to guess, and guesses drift.
The good news: you don't need a wide-angle lens, a tripod, or a “perfect” room. You need one honest, well-lit shot that shows the bones of the space. Everything below is about getting that shot.
Stand in a corner and capture two walls
The best position is a corner of the room, or a doorway, with your back near the wall. From there, angle the phone so that two walls meet inside the frame — that corner line, plus the line where the walls meet the floor, tells the AI exactly how the room is shaped. Aim to include the far wall and a strip of floor across the bottom of the picture, roughly a third of the frame.
A quick way to check: before you tap the shutter, ask yourself “Can I see where two walls come together, and can I see the floor?” If yes, you have a usable photo. Most US apartments, bedrooms, and living rooms photograph well from one corner. In a longer space like a galley kitchen or a narrow home office, back all the way up to the shortest wall so more of the room fits in.
Phone at chest height, held level
Hold the phone around chest height, roughly 4 to 4.5 feet (about 1.2–1.4 m) off the floor, and keep it level rather than tilted up or down. Chest height gives a natural, eye-level view of the room — the same way you would see it walking in. Shooting from the hip makes ceilings loom; shooting from overhead flattens the floor. Level and centered is all you're after.
Landscape or portrait? Landscape usually wins
Turn the phone sideways (landscape) for most rooms. Rooms are wider than they are tall, so a horizontal frame captures more of both walls and more of the floor. Portrait (vertical) is fine for a tall, narrow spot — a reading nook, a bathroom, a small entryway — but for a typical living room or bedroom, landscape gives the AI more of the structure to work with. Either orientation works; just pick the one that fits more of the room in the frame.
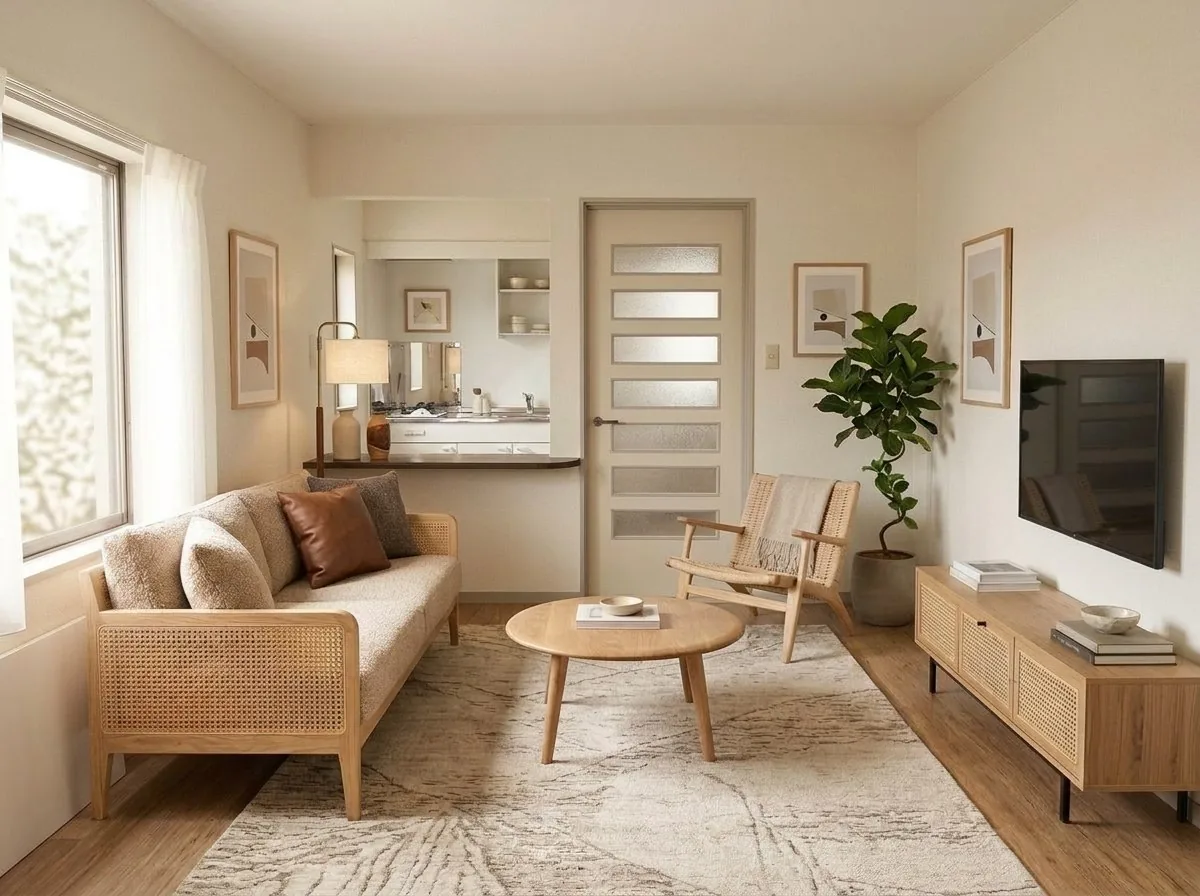
Get the light right
Light is the second thing the AI reads. Shoot during the daytime with the curtains or blinds open, and turn on the room lights too if the space is dim. Soft, even daylight makes the edges of walls, floors, and furniture easy to trace. A dark room, a heavily backlit window, or a photo taken at night with one lamp on tends to hide the very lines the tool needs.
If a bright window is washing out the rest of the room, angle yourself so the window is off to the side rather than dead ahead. You want the room lit, not silhouetted against the glass.
Declutter only what you easily can
You do not need a magazine-ready room. The AI shows you a tidied, restyled version regardless of what is on the coffee table. Spend thirty seconds, not thirty minutes: move anything that is piled high enough to hide the floor line or a corner — a laundry basket in front of the baseboard, a stack of boxes against the wall, a chair blocking the window. Once the walls meet the floor in a clean visible line and the corner is showing, stop. Renting and short on time? This step is meant to be quick, not a full cleanup.
What you do NOT need to worry about
- Messy shelves, a cluttered desk, or a made-or-unmade bed — the redesign restyles all of it.
- Old or mismatched furniture — that's exactly what you're replacing on screen.
- Paint color, worn flooring, or rental-beige walls — the tool reworks surfaces and palette.
- A pro camera — a normal phone photo, straight from the camera roll, is ideal.
- Getting the “whole” room — as long as two walls and the floor show, partial is fine.
In other words, don’t stage the room to impress the AI. Show it the shape of the space and let it do the styling.
Common failure photos (and the quick fix)
Almost every disappointing result traces back to one of these shots. If your redesign came out strange, check whether the input looked like any of them.
-
Avoid 1 Too close
A tight shot of just the sofa, or one corner of the wall, gives the AI no room to redesign — there is no “room” in the frame. Fix: take two or three steps back and photograph the space, not the object. If it won’t fit, shoot from the opposite corner.
-
Avoid 2 Only the floor (or only the ceiling)
Pointing the phone down at the rug, or up at the ceiling, hides the walls and structure. Fix: hold the phone level at chest height so the far wall, the floor line, and a corner all appear.
-
Avoid 3 Mirrors and reflections
A big mirror or a glossy TV can double the room or reflect you holding the phone, which confuses the layout. Fix: frame so the mirror is off to one side, or shoot from an angle where it doesn’t reflect the whole space or your reflection.
-
Avoid 4 Blurry, dark, or a screenshot
Out-of-focus or dim photos smear the wall-and-floor edges, and re-saved screenshots lose detail. Fix: shoot in daylight, hold steady for a beat, and upload the original photo straight from your camera roll.
-
Avoid 5 People, pets, or the outdoors
A selfie, a group shot, or a photo of the yard isn’t a room the tool can redesign — and it may be declined as “not a room.” Fix: catch the room empty of people, and make sure it’s an interior space.
What makes results even better
Once you have the basics, a few small habits raise the ceiling on your results:
- Take two or three photos from slightly different corners and upload the one that shows the most room.
- Keep the phone level — straight vertical lines on the walls help the AI keep proportions honest.
- Include one or two real reference points, like the window or a doorway, so scale reads correctly.
- Match the mood to the light: shoot bright rooms in daylight; the redesign feels truer to your space.
Wondering how close the finished furniture will match what you picture? Our guide on what to expect from an AI room design walks through it honestly, and the furniture size guide helps you sanity-check proportions once you see the result. New to the whole idea? Start with what AI interior design actually is.
A 15-second pre-upload checklist
- ☐ Shot from a corner or doorway, stepped back a little
- ☐ Two walls meet in the frame, and the floor line is visible
- ☐ Floor takes up about a third of the picture
- ☐ Bright — daytime light or lights on, curtains open
- ☐ No people in frame, and it’s an interior (not blurry, not a screenshot)
Tick those five and the AI has everything it needs to read your room and return a redesign that fits the space, at a believable scale. Snap a couple, pick the clearest, and upload.
A quick note on how this works. The redesigned image is AI-generated — a concept of your room in a new style. The numbered products we link are real items that resemble what you see, not the exact pieces in the picture. That’s our honesty policy: shop real furniture similar to the look, from real retailers.
Product links may be affiliate links; we may earn a commission at no extra cost to you.
Have a good corner shot ready? Try a Scandinavian redesign of your own room — six free designs to start, no sign-up required.
Redesign my room →Prefer to browse styles first? See the interior design styles guide.